 S tier● Community verified
Durable frontlinerEasy
Mercenary
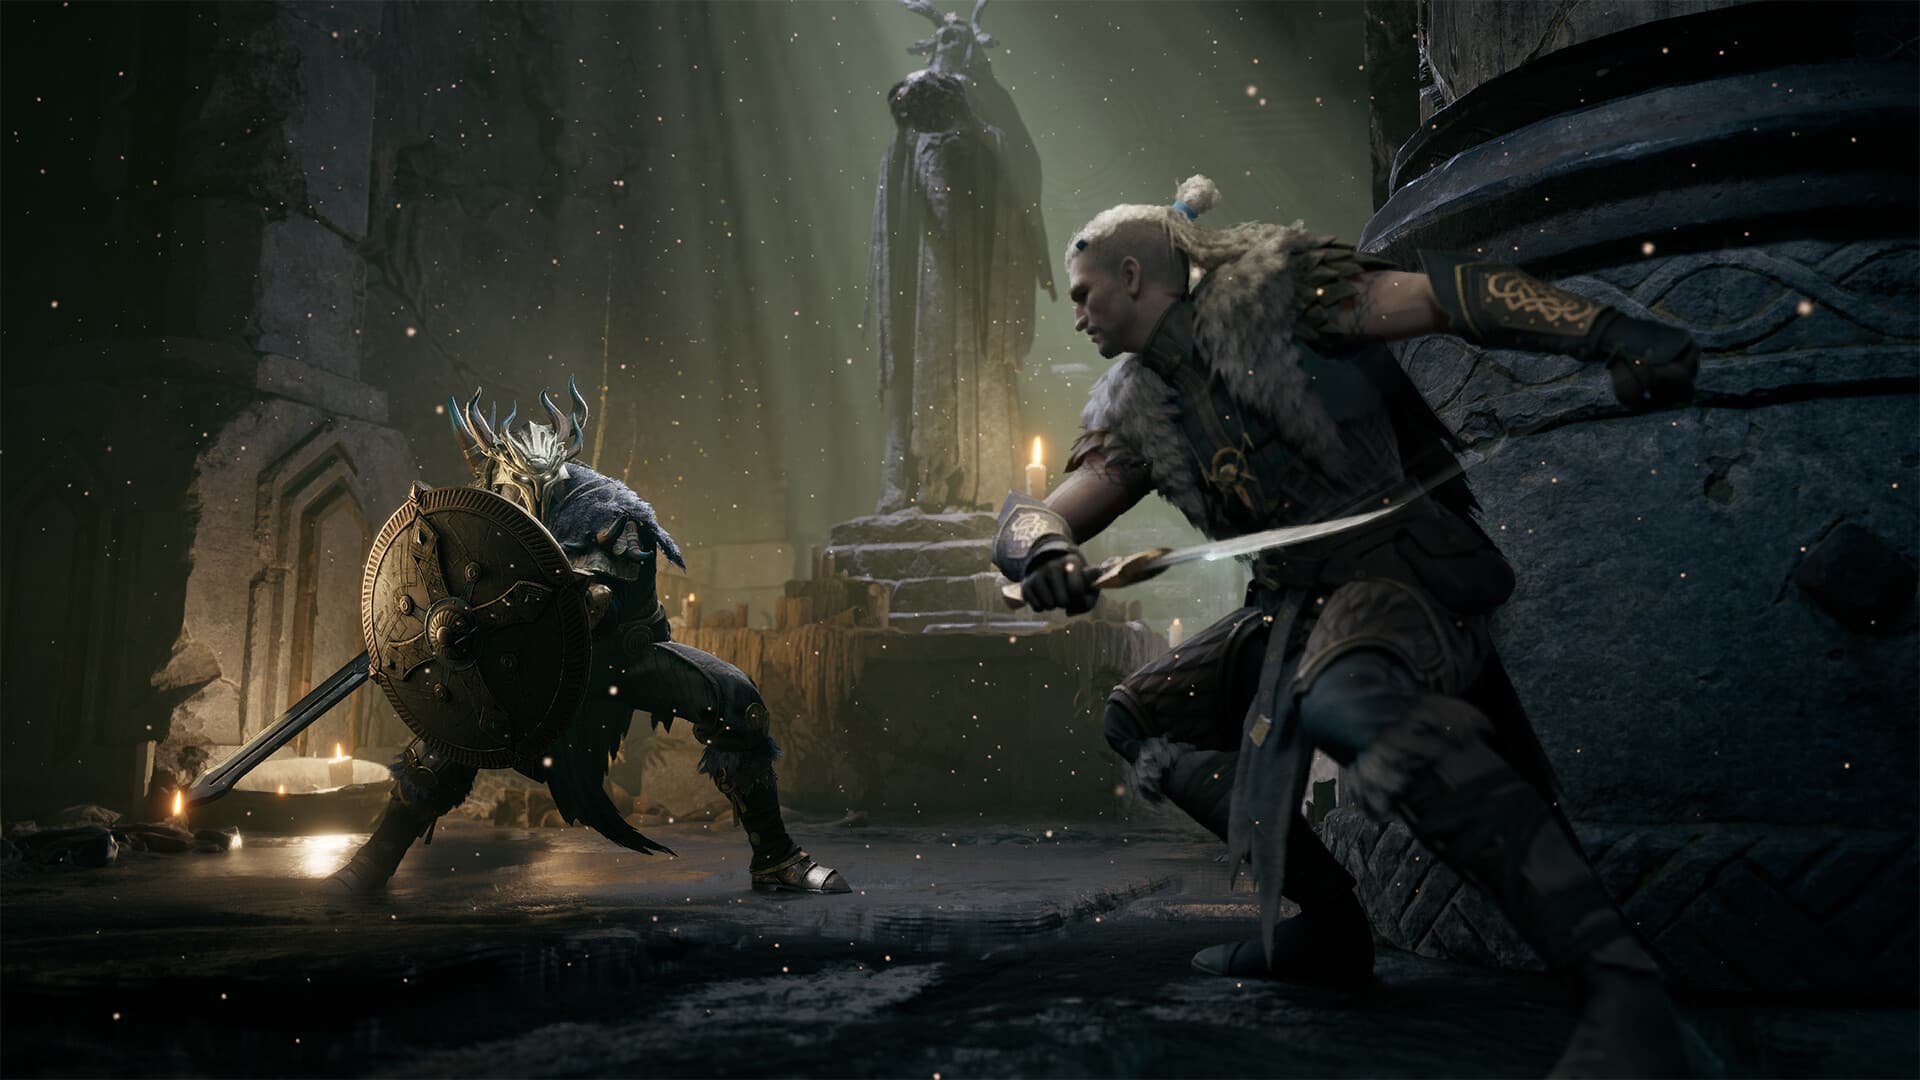
A forgiving sword-and-shield setup that trades burst damage for control, blocks, and dependable extraction runs.
Open build BuildsUnofficial community guide
Explore 10 creator builds with skill picks, loadout codes, practical tradeoffs, and timestamped video chapters. Read in English or 中文.
Pick a playstyle. Get the loadout, the important decisions, and the exact video moments behind them. English / 中文 available in every guide.

Solo · Brandrgarde · Sword & shield / Polearm

Solo · Burst & control · Sword & shield / Warhammer
Solo · Ranged control · Bow / Crossbow

Solo · Mobile caster · Mace / Curses
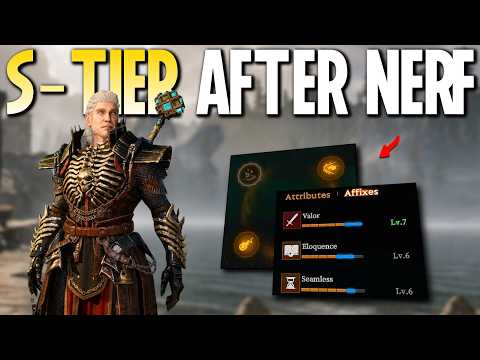
Control · Kiting · Stardust magic

Blue budget · Hybrid melee · Sword & shield / Warhammer

Solo · Aim-dependent burst · Bow / Crossbow
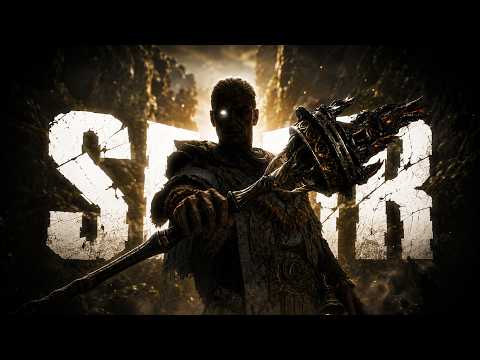
Solo · Aggressive caster · Mace / Curses

Solo · Quick reference · Elemental magic

Cataclysm · Budget melee · Daggers
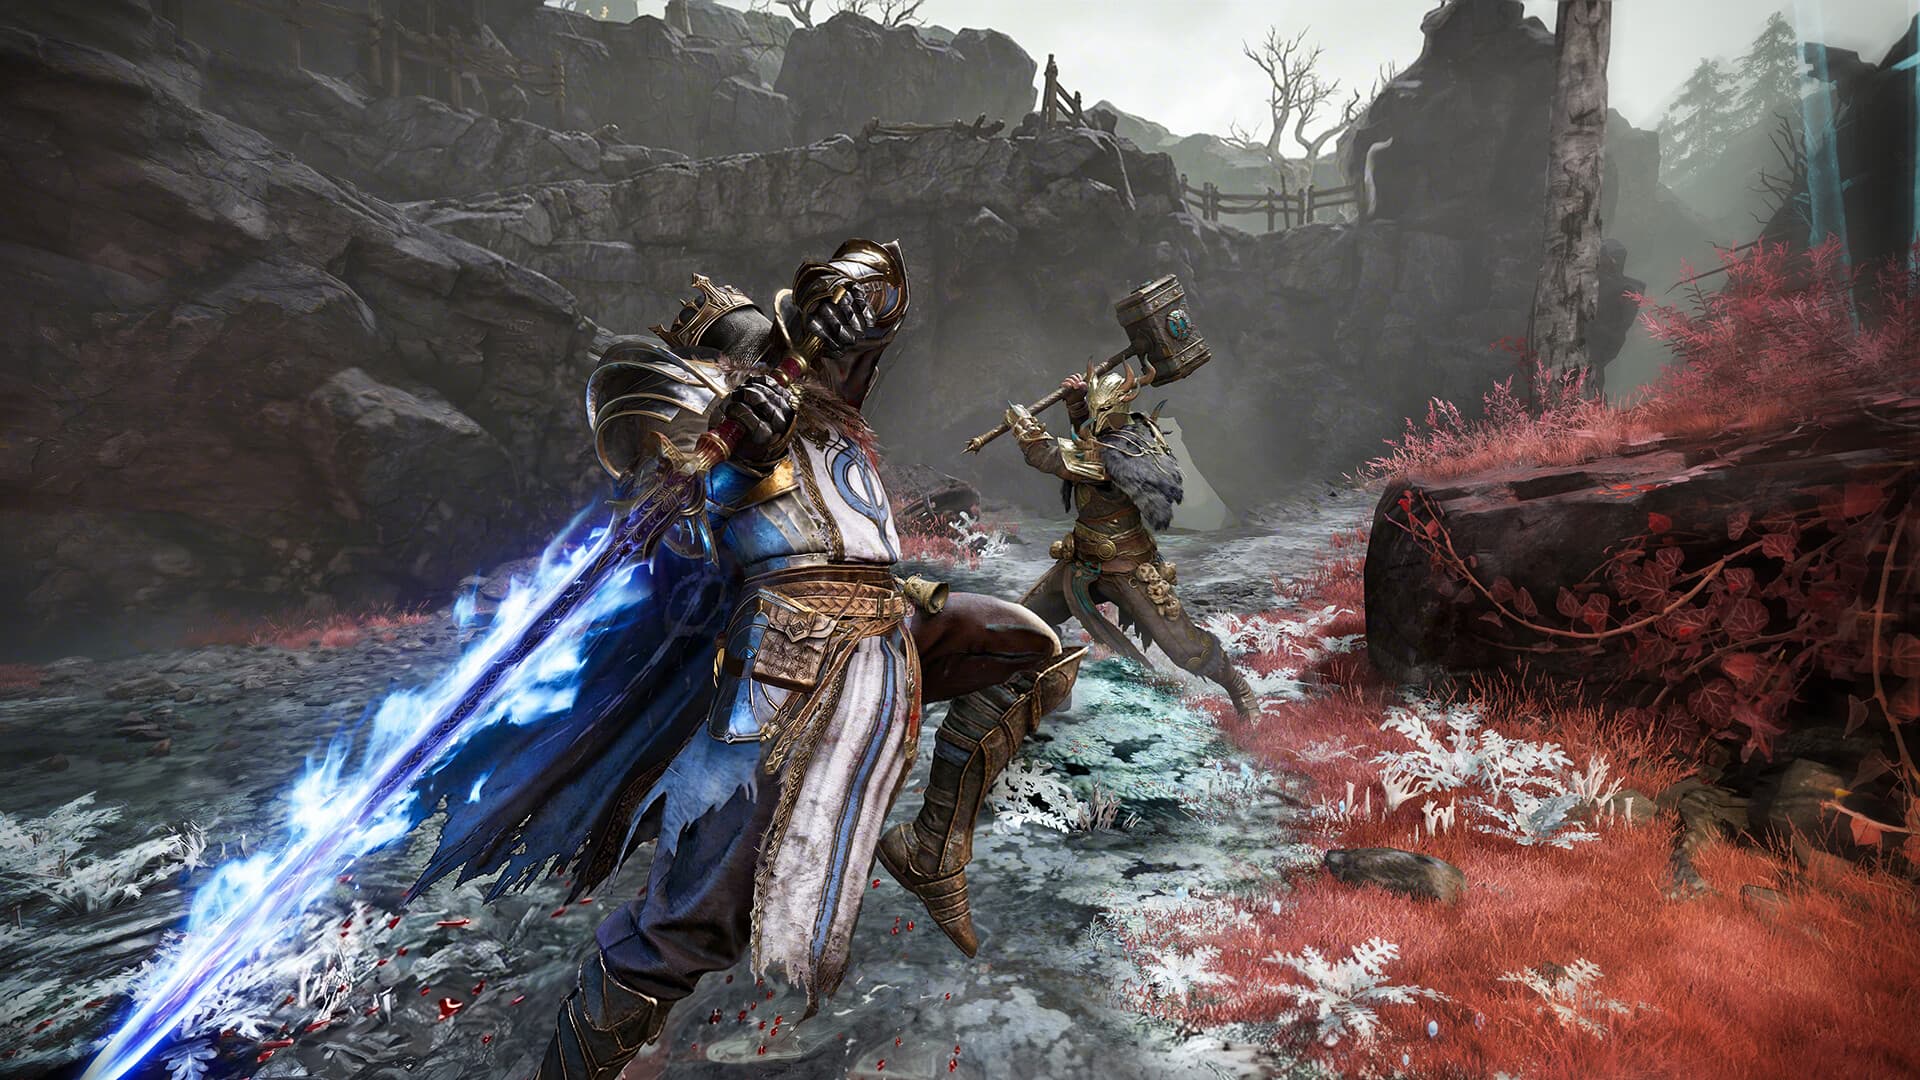
Watch the official showcase for visual context on combat pace, movement, and the Gyldenmist. The video loads only after you press play, so the page stays fast and privacy-friendly by default.
Open official videoStart with one practical Generalist Build, then open the full guide for weapons, skills, talents, gear, rotation, and alternatives.
S tier● Community verifiedA forgiving sword-and-shield setup that trades burst damage for control, blocks, and dependable extraction runs.
Open build S tier● Community verified
A flexible staff route built around ranged pressure, crowd control, and a safe reset when enemies close the gap.
Open build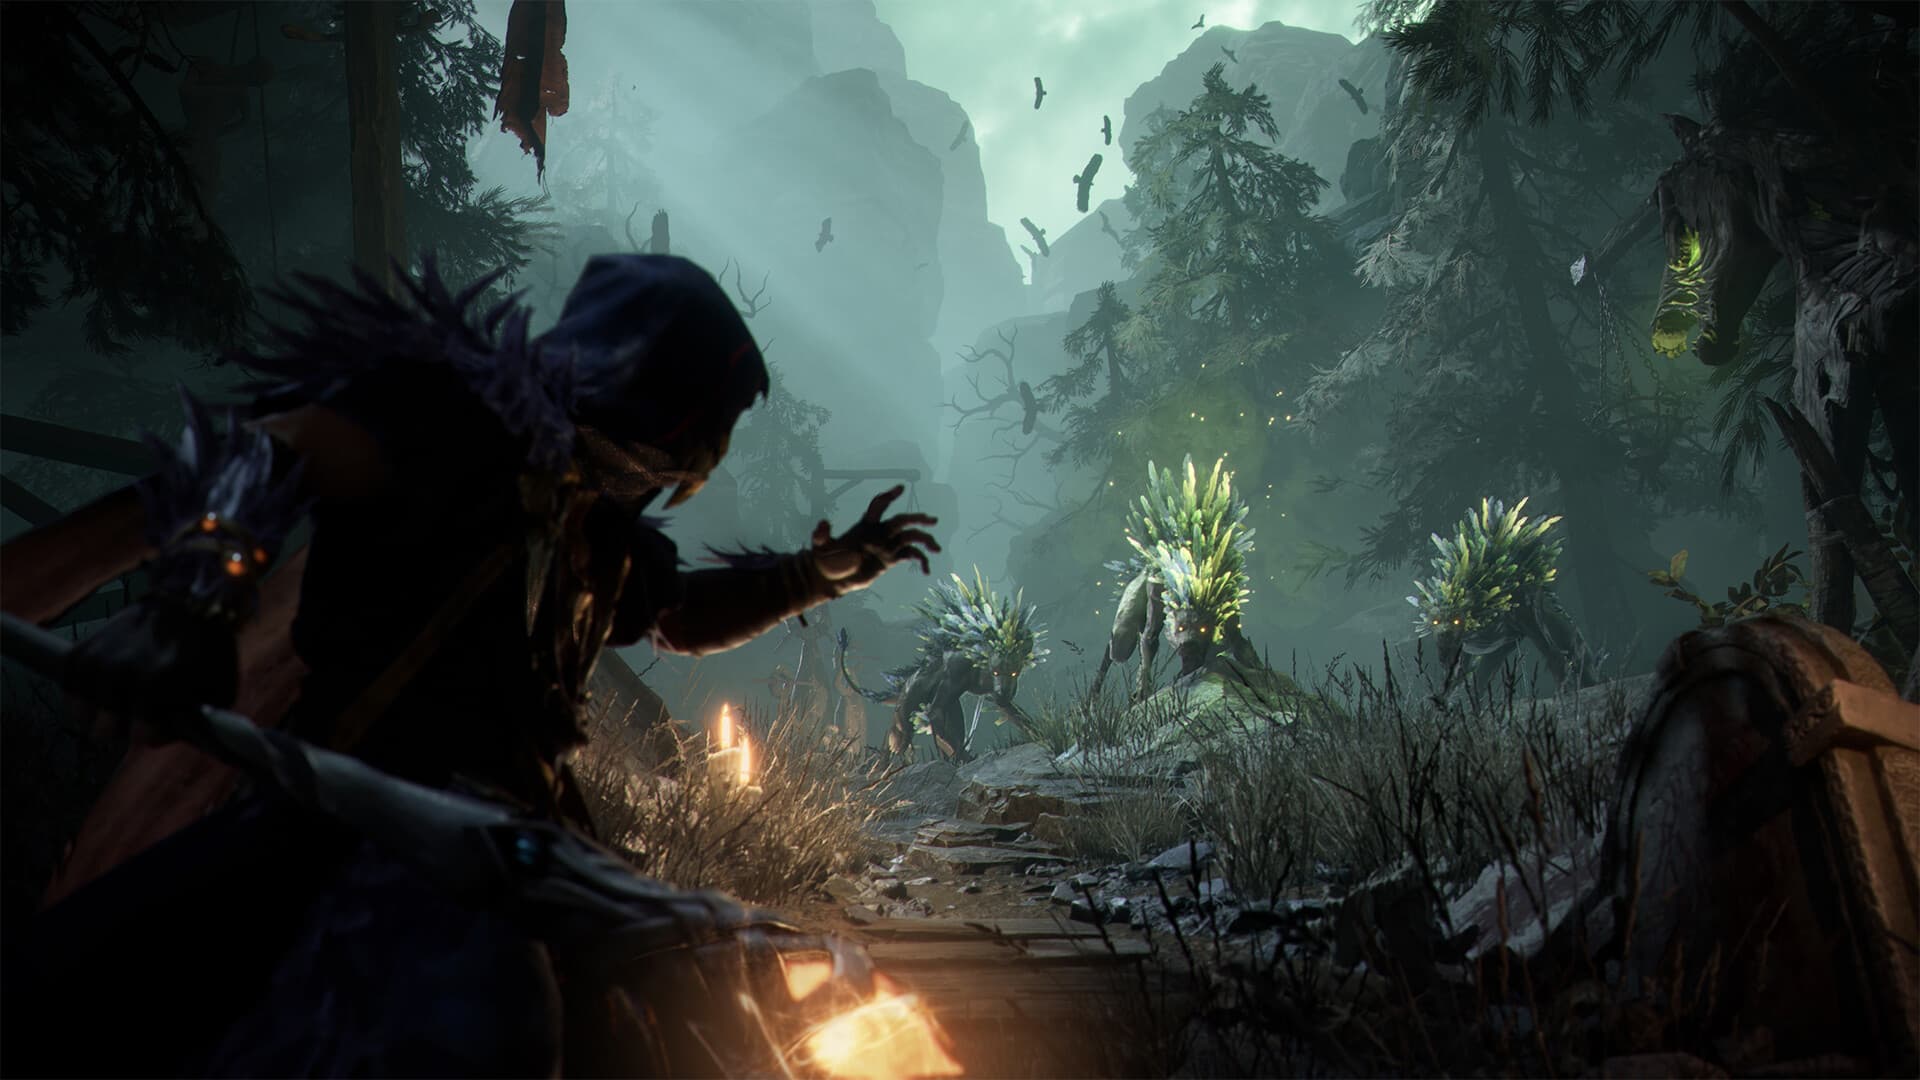 A tier● Community verified
A bow setup for steady ranged damage, quick repositioning, and a reliable answer when opponents rush your firing lane.
Open build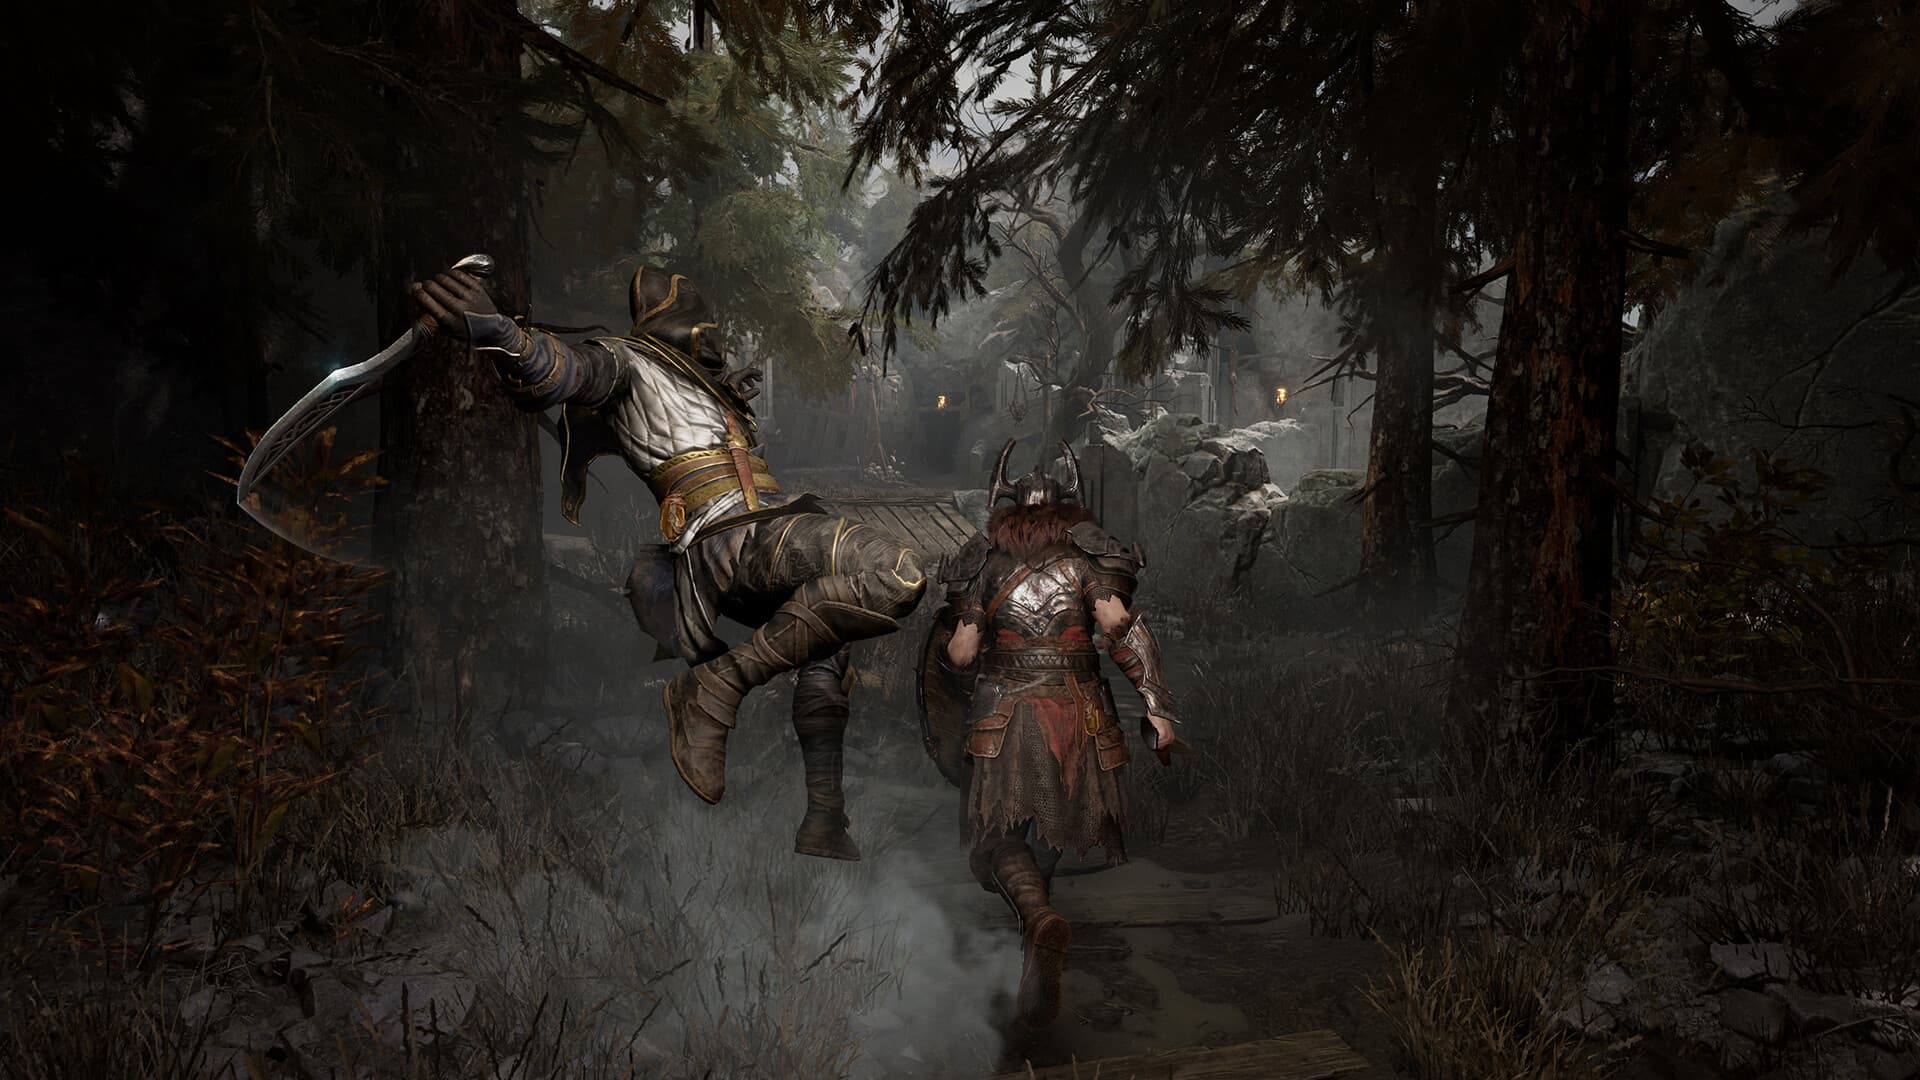 A tier● Community verified
A dual-blade route for fast engages and disengages, rewarding players who track enemy recovery windows instead of trading head-on.
Open build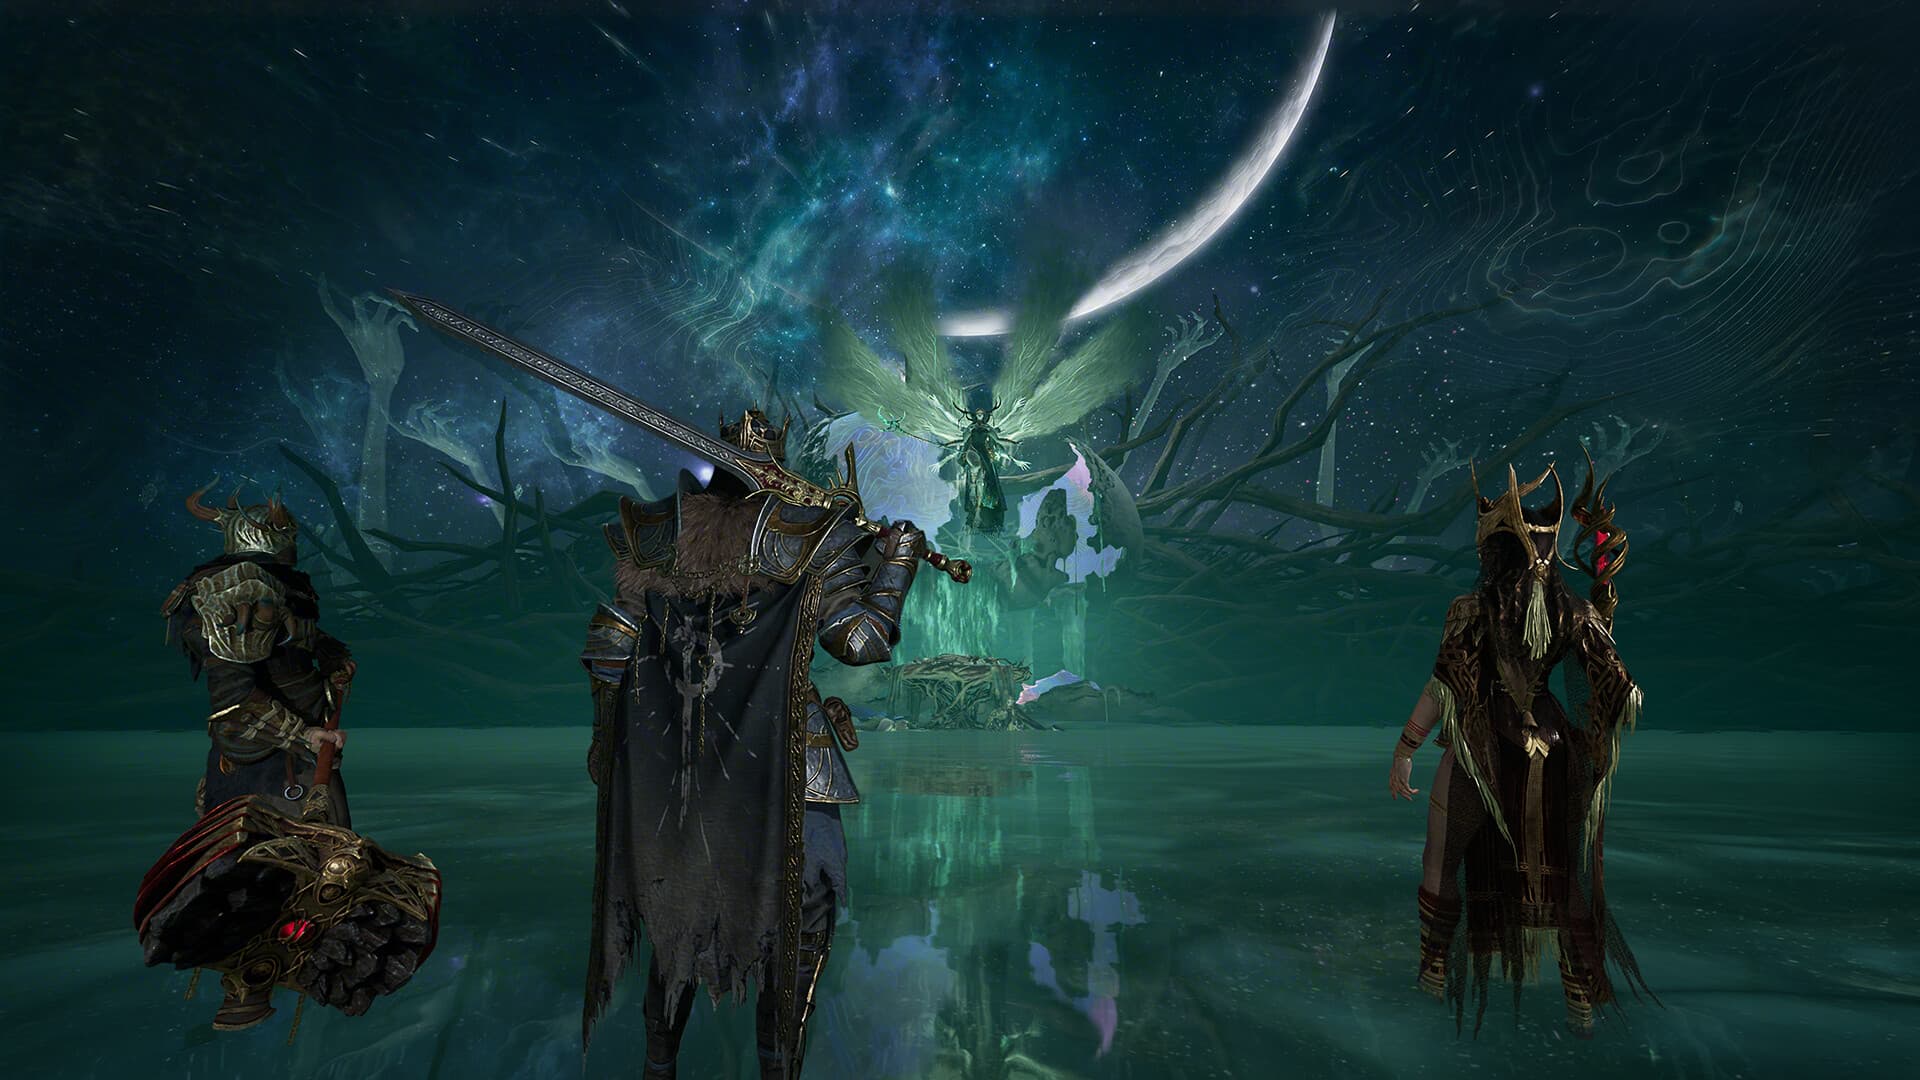 B tier● Community verified
A catalyst support setup that protects space, sustains allies, and remains useful when a fight becomes messy.
Open build A tier● Community verified
A greatsword route that turns deliberate defense into heavy break pressure and punishing counterattacks.
Open buildThere is no single starting choice for every player. Use range, role, difficulty, and preferred fight rhythm to narrow the six Classes before comparing detailed gear.
A useful Mistfall Hunter Build is more than a list of high-rarity items. It should tell you what the Class is trying to do, which weapons and Skills support that plan, how its rotation creates a safe damage window, and what you give up by choosing it. The six guides on this page are Generalist Builds: practical starting points designed to cover common situations without claiming to be the best answer for every matchup, team, or Patch.
Start here if you want a forgiving frontline. Sword and shield give you dependable blocks and control, making this the clearest Class for learning enemy timing without relying on perfect burst windows.
View Mercenary BuildChoose Sorcerer for ranged elemental pressure and crowd control. It rewards deliberate spacing and cooldown management, while defensive tools give you a way to reset when an opponent reaches you.
View Sorcerer BuildChoose Blackarrow when mobility and clean firing lanes matter most. The bow keeps pressure at range, but good terrain awareness and saving Shadow Step for repositioning are central to the Build.
View Blackarrow BuildPick Shadowstrix for fast melee engagements and disengagements. This is the hardest starting route here because it rewards matchup knowledge, precise timing, and leaving before a trade becomes unfavorable.
View Shadowstrix BuildPick Seer when you prefer protection, control, and team utility over personal kill pressure. The Class becomes more valuable when allies understand how to fight around your runes and healing windows.
View Seer BuildChoose Withered Knight for deliberate defense, break pressure, and heavy counterattacks. The greatsword route suits players who enjoy reading an attack, parrying it, and answering with a committed punish.
View Withered Knight BuildNew players who value forgiveness can begin with Mercenary, while players comfortable managing distance may prefer Sorcerer or Blackarrow. Shadowstrix suits confident melee skirmishers, Seer supports coordinated groups, and Withered Knight rewards patient counterplay. These are starting signals, not permanent rankings; the Class tier list uses separate, published criteria and should not replace your preferred Playstyle.
After choosing a Class, read the complete Build before changing individual pieces. Weapon, Skill, Talent, Gear, Affix priorities, and rotation are designed to work together. Also check the visible status, Patch context, last-checked date, and Evidence ledger. If a new Patch changes a key mechanic, a previously verified guide may move to Needs Review until its Claims are supported again.
Check the current class picture, understand the latest balance context, and see exactly how each Build was assembled.
Open your Class and use its Generalist Build as a practical baseline. Adjust only after you understand its tradeoffs and how its rotation feels in a real run.
No. They are independent community guides. Official media is used for visual context and remains the property of its rights holders.
Check the Patch context, last-checked date, status, sources, and update record shown on the Build page. A new Patch may move a guide to Needs Review until its key claims are checked again.
It means the Build's key claims meet our published source rules and have explicit Patch context. It does not mean the editor personally playtested the Build or that it will remain optimal forever.
Each guide is a Generalist Build intended as a clear starting point. Read its Playstyle labels, alternatives, and tradeoffs before adapting it for solo extraction or a coordinated group.